1. For the Impatient
This HowTo gives you a quick instruction on how to get a demo of djangocms-cascade up and running. It also is a good starting point to ask questions or report bugs, since its backend is used as a fully functional reference implementation, used by the unit tests of project.
1.1. Create a Python Virtual Environment
To keep environments separate, create a virtual environment and install external dependencies. Missing packages with JavaScript files and Style Sheets, which are not available via pip must be installed via npm:
$ git clone --depth=1 https://github.com/jrief/djangocms-cascade.git
$ cd djangocms-cascade
$ virtualenv cascadenv
$ source cascadenv/bin/activate
(cascadenv)$ pip install -r requirements/django110.txt
Initialize the database, create a superuser and start the development server:
$ cd examples
$ npm install
$ ./manage.py migrate
$ ./manage.py createsuperuser
$ ./manage.py runserver
Point a browser to http://localhost:8000/?edit and log in as the super user you just created. Hit “next” and fill out the form to create your first page. Afterwards, click Structure on the top of the page. A heading named Main Content appears, it symbolizes our main django-CMS Placeholder.
Locate the plus sign right to the heading and click on it. From its context menu select Container located in the section Bootstrap:
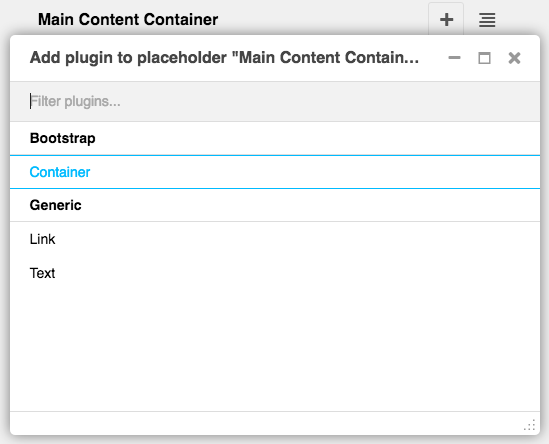
This brings you into the editor mode for a Bootstrap container. To this container you may add one or more Bootstrap Rows. Inside these rows you may organize the layout using some Bootstrap Columns.
Please proceed with the detailled explanation on how to use the Bootstrap’s grid system within djangocms-cascade.